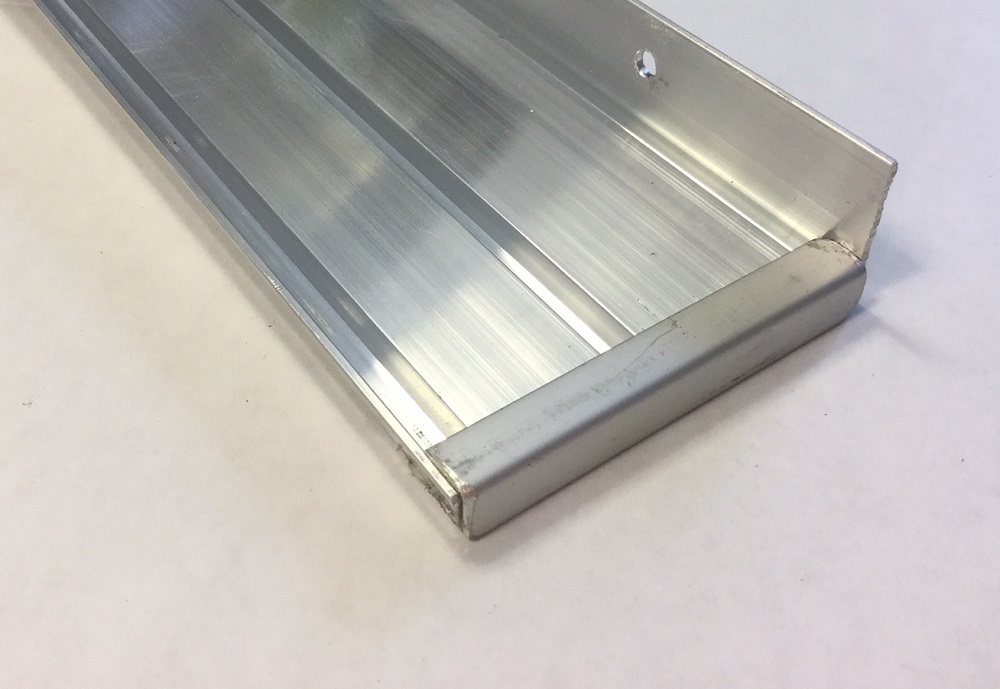
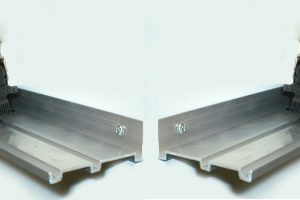
The end cap for display shelves is sold individually, so order two per shelf unless you are butting them together to span a longer wall space.
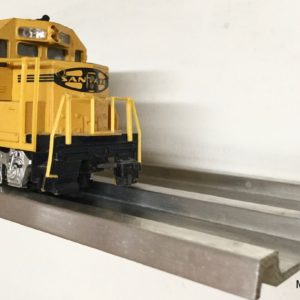
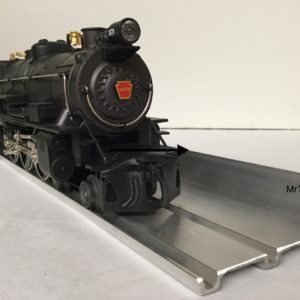
Order TWO end caps per display shelf to give your shelf a finished look and keep your trains from rolling off the end. Our end cap for display shelves is made of aluminum with two faced tape for installation. Just peel the tape and slip over the end of the HO Gauge Display shelf , S scale , diecast collectibles shelf, or O Gauge Display shelf.
Share your train room pictures with us on Facebook!
MrTrain.com shelves are easy to install. You will need the following tools:
- An electric drill
- 3/16″ drill bits
- A Level
- Mounting Hardware
- Spacing Blocks
Spacing blocks should be as high as the distance between the shelves, generally between 5-1/2″ or 6″ for O gauge. Studs are usually located 16″ or 24″ apart on center. Electrical outlets are generally attached to the side of a stud, which is the easiest way to locate one. They may also be found with a magnetic stud finder.
Installation Instructions
Using the level, draw a line on the wall where you would like the bottom shelf to be located. Locate the studs along this line. Mark the stud spacing and transfer the marks to the back of the shelf. Using the 3/16″drill bit, drill holes in the shelf from the back.
Using the mounting hardware, install the shelf on the wall line once you have drilled holes through 1 inch lip to align to your wall studs. Attach to the wall by aligning holes to studs and screw directly in.
Once the bottom shelf is fastened, place the spacing blocks on the top of the rails, equal distance apart. Place the next shelf on top of the blocks and mark where each fastener hole is to be drilled. Remove the shelf, drill the holes in the shelf and in the studs and attach the second shelf.
Continue installing the shelving by using the spacing blocks until installation is complete.

Reviews
There are no reviews yet.